Sunday, October 26, 2014

Harvest Pie

This week I thought I would make a pie to celebrate fall. Now most people usually think of apples and pumpkin everything in the fall leading to thanksgiving in which they are joined by pecans in a trinity of pies that is fairly common across the U.S. While I enjoy each of these very much I also think of pears as a fall fruit. I also love pears in combination with earthy foods. So I wanted to make a pie that had both apples and pears after deeming that pumpkin would be too much for this. The only problem was that if I were to just do a pie with apples and pears something would be missing. Then I thought of dates as a third fruit to add and voila we have the Harvest Pie.

Harvest Pie
Celebrate with pie, how American.

Ingredients:
3 Pears (I believe I used 2 Bosc and 1 Bartlett)
3 granny smith apples
1/4 cup chopped pitted dates
1/4 tsp cinnamon
1/8 tsp nutmeg
2 of your favorite pie crusts (I felt lazy and started this fairly late so I used store bought this time but if you have motivation, skill, and time for it make your own)

Instructions:
Prepare Crust as needed
peel and slice pears and apples
combine sliced pears and apples with the 1/4 cup chopped dates nutmeg and 1/8 tsp cinnamon
pour filling into bottom half of the pie crust top with the remaining 1/8 tsp cinnamon.
place top crust seal and crimp the edges cut slits  and poke a center hole in the top crust
Bake at 425°F for 40 minutes putting on foil around the edges after 15-20 minutes (I did 16 min) to prevent the edges from burning. It will look golden brown when finished.
Wait 20 minutes before serving.

Suggestions:
If you like very sweet pie add up to a 1/3 cup of sugar to when combining the pears apples and spices.
Make a crumble top instead of a top layer of pie crust using 1/3 cup all purpose flour, 2/3 cup oats, 1/2 stick butter, 1/4 cup white sugar, 1/4 cup brown sugar, 1/2 tsp cinnamon, and 1/4 tsp nutmeg.
Add 1 tsp fresh orange juice,1 tsp Vanilla extract or Rum extract when combining the fruit and spices.

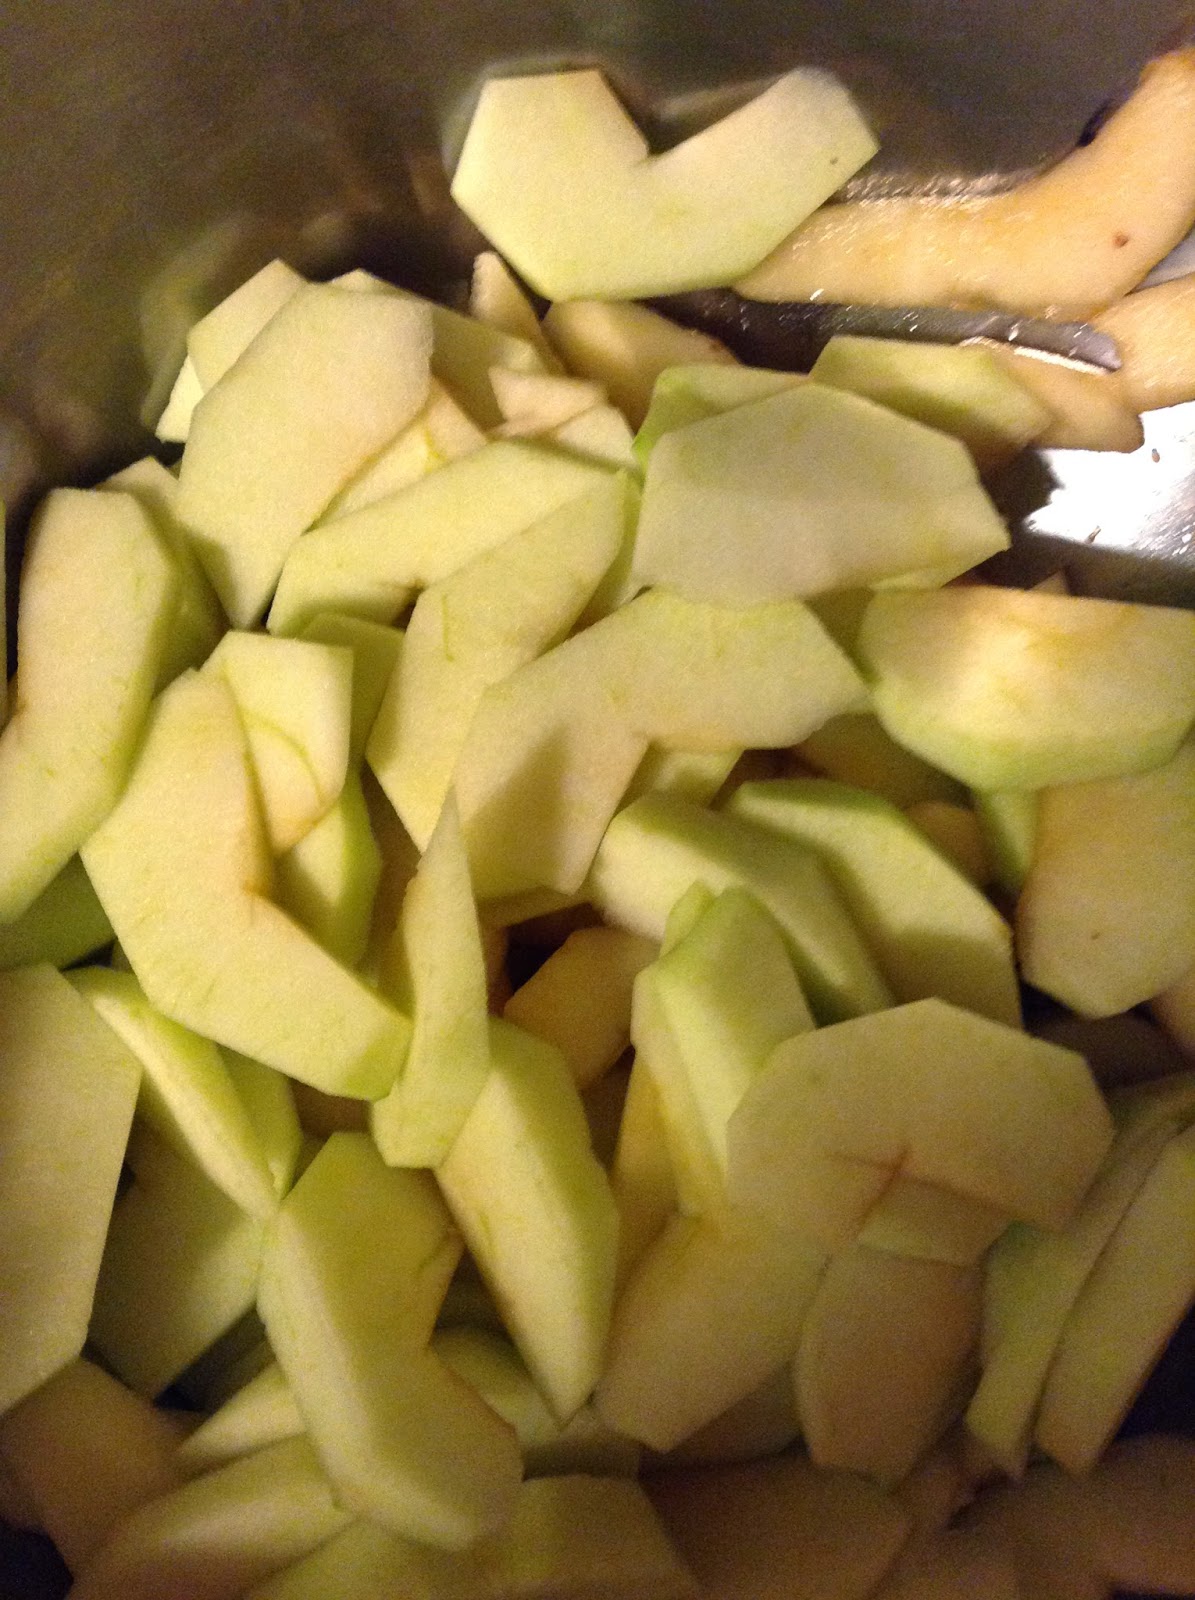
Pears and apples pre-spices
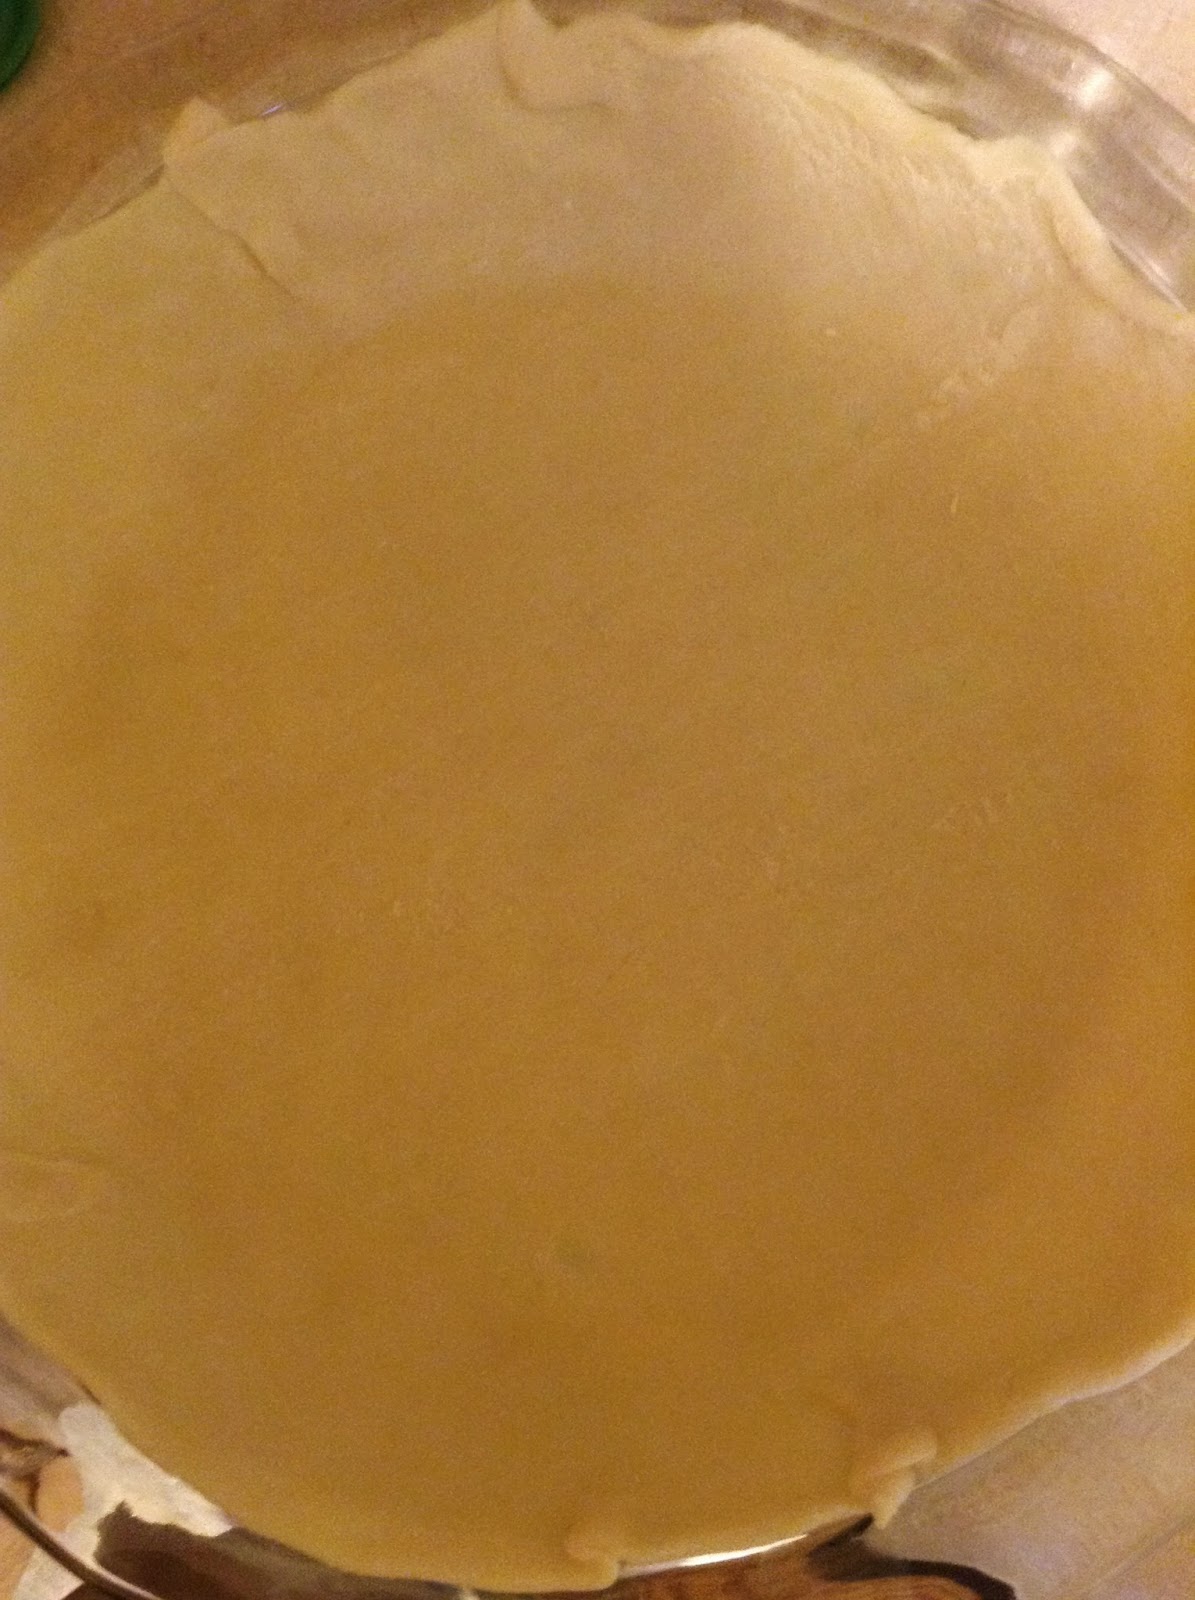
Pie Crust
filling in the crust

I cannot cut things in a straight line.
Out of the Oven


Having a slice for science.

Sunday, October 19, 2014

Pumpkin Curry Soup

This week I made Pumpkin Curry Soup as a celebration of fall. Basically I wanted to have a pumpkin soup that tastes good available to me (I had a bad experience with a different pumpkin soup when I was very young). Seeing how real pumpkins in the states are basically only used as decorations I feel they can be better used. This recipe has a savory and slightly spicy flavor to it.

Pumpkin curry soup
see you can eat them.


Ingredients:
1/2 medium pumpkin cubed with the skin, seeds, and "guts" removed (the slimy feeling insides)
4 Jalapeno peppers
1/2 red onion
2 sausages (I used a homemade sausage)
2 TBSP olive oil
1 1/2 TBSP curry powder (I used a homemade orange curry blend [red and yellow with some oregano thrown in])
4 cups water
Optional mini pumpkins used for bowls.


Instructions:
cube pumpkin after removing seeds and "guts"
Boil pumpkin for 15-20 minutes until tender (here you have a choice of either blending the pumpkin to make a smoother soup or mashing the pumpkin  for a chunkier soup)
While the pumpkin is boiling Chop the onion and jalapenos (after removing the seeds and membranes from the peppers to reduce the amount of heat from the peppers [if you want it hotter keep the membranes and don't forget to wear gloves])
saute onion and Jalapeno peppers for 5 minutes over medium heat remove let rest
slice sausage into bite-size pieces and saute for 5 minutes over medium heat
add in the onion and Jalapenos to the sausage along with the olive oil saute for an additional 3 minutes
add the Sausage , onion, and jalapeno mixture to the (blended or mashed) pumpkin
add in the curry powder
simmer for 20 minutes
serve in mini pumpkins

Suggestions:
for extra flavor use chicken stock instead of water
for more color add in red bell peppers

I was not in my kitchen so this took a while

some pumpkin in the pot

Boiling hot

The membrane is the very light green stuff that the seeds are connected to

I first added the onion because I wanted a slight texture change between the two
Sausage cooking away

Everything is in place 

cleaning and cutting these was harder than the large pumpkin


Soup is on


Sunday, October 12, 2014

Mixed Nut butter

So this week I did a mixed nut butter as part of the Spread 'em set of recipes. I decided on doing this as a fast recipe that would be easy to write up so that I can focus on other responsibilities and so that I have time to plan for some very special recipes coming up. The mixed nut butter also serves as a proof of concept for other flavors that will come out at some point most likely after a lot of the holiday season is over with.

Mixed Nut Butter
A tasty blend of various nuts that have been roasted and salted.

Ingredients:
1 cup mixed nuts (I used pre-roasted and salted nuts for this recipe as a means of saving time feel free to roast and salt nuts to your desired level if you want.)
1-2 tablespoons vegetable oil (use more for a thinner sauce consistency or less for a thicker spread consistency)
1-2 teaspoons white sugar (Optional ingredient! [for a sweeter nut butter add in more.])

Instructions:
place mixed nuts in a food processor
chop nuts until a fine chop consistency (about 1 minute) reserve anywhere from a 1/4 to 1/2 cup of the chopped nuts if you want a chuck consistency
add sugar to the chopped nuts in the processor
continue to process the nuts while slowly adding the vegetable oil until creamy
add reserved nuts back into the mixture if you reserved some

Suggestions:
try using honey, brown sugar, molasses or your favorite sweetener instead of white sugar.
Can it and give it as a gift along with fruit preserves, dried fruit, wine, summer sausage, and cheese for a nice picnic basket.
use it instead of regular peanut butter for a little
verity in your PB&J sandwiches.

Brazil nuts, almonds, cashews, peanuts, hazelnuts, and pecans

This is also great for ice cream. YAY! multi use of a recipe!

I went for a saucy style so that I can easily mix it with cream cheese for bagels


Sunday, October 5, 2014

Pretzel Wands

With October being a thing and me being involved with various activities I am changing my regular post time to be Sunday evenings in the central standard time zone. This will hopefully give me more time to actually dedicate to writing posts when I have days off of work.

This week I decided to try out how well pretzel wands work with a hard candy top versus the more traditional chocolate confection. I got the idea while searching web for food things. I found a cool idea for candy apples that looked very cool (found here) which is basically melting down jolly ranchers and coating an apple with them while mixing in some food safe glitter to make it look amazing. so I thought to myself that looks magical... That kind of magic would be amazing in a wand... maybe one that you could eat... short hair is great... OH! Pretzel Wands! (I was getting my hair cut at the time).  Anyway I journeyed forth to find the materials for wand making searching at multiple shops and heroically avoiding children trying to sell me popcorn.

Also this week I used a double boiler for melting candies down. This is a method of heating ingredients that tend to burn or scorch when in a pot that has direct heat applied to it. A double boiler used a lower pot with water in it to boil and produce steam which rises and heats the upper pot/bowl allowing for a much more even raise in temperature making it easier to deal with ingredients that are easily burned.

Pretzel Wands
Not to be used for casting real magic

Ingredients:
Jolly Ranchers (or other hard candies or you can make your own hard candy and flavor/color it as you wish)
Pretzels (I went for the hand sized pretzels as these would be good for kids)

Instructions:
unwrap hard candies and place in a metal mixing bowl or the top of a double boiler pot.
add water to the bottom pot and heat allowing the candies to melt.
dip in pretzels and begin turning while still in the same vertical position as when you dip to retain the candy on the pretzel tip
spin until the outer surface is semi-hardened or hang so that the candy dipped end is above a greased sheet of wax paper and adding candy coating as desired.
allow to harden and enjoy.

Suggestions:
mix different colors or create your own hard candy with cool colors to allow for more distinct wand tips
add food safe glitter for some razzle dazzle to your wand
If you want to get really fancy you could make mini staffs with candy crystals held in place by a different color of hard candy. (I would suggest using rock candy for the center.)
get pop molds that can safely handle heat and fill those with hard candy then use the pretzel as the stick.

Green because I did not get enough purple 

This is how I double boil

I'm melting! MELTING!

oh look another use for an ice cube tray how cool

just a pic of the tip

Here come old flattop